

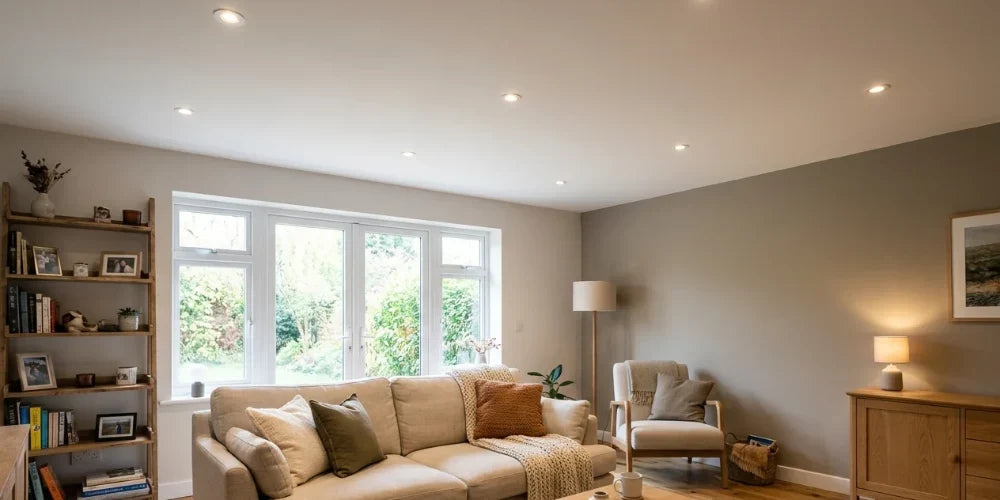
Start by identifying what is already in the ceiling. An existing recessed housing may accept a compatible LED retrofit module, while a new lighting location calls for a fixture and installation method suited to the available access and ceiling space.
Before choosing, check the existing opening, complete fixture dimensions, compatibility, and how the components will be serviced. The most useful starting point is your ceiling’s current condition, not a preference for “can” or “canless.”
Choose a Path Based on What Is Already There
| Your starting point | Option to evaluate | What determines the next step |
|---|---|---|
| Existing recessed housing you want to retain | A compatible LED retrofit module, or a replacement lamp if the existing fixture supports it | Housing identification, condition, connections, and documented compatibility |
| Finished ceiling with no existing recessed fixture at the planned location | A canless fixture or remodel housing designed for the installation conditions | Access through the opening, mounting requirements, wiring access, and available space |
| Ceiling opened during renovation, or accessible from above | A housing-based or canless system suited to the construction | Support requirements, ceiling assembly, fixture dimensions, and future service access |
| Existing opening that does not fit the desired fixture | A compatible system for that opening, or planned ceiling repair and resizing | Actual cutout dimensions, mounting method, and the selected fixture’s requirements |

Already Have Recessed Housings?
If you want to keep the existing housings, identify them before selecting replacement components. Look for the manufacturer and model information, and have the housing’s condition and suitability assessed before reuse.
Replacing a lamp is different from installing an LED retrofit module. A replacement lamp uses the existing fixture arrangement, while a retrofit module replaces the light-producing assembly and usually includes its own visible trim. The appropriate route depends on what the existing fixture supports.
For a retrofit module, verify the specified housing compatibility, connection method, and mounting arrangement. Two products described as the same nominal size are not necessarily interchangeable.
Also consider the appearance you want to retain or change. A new module may alter the visible trim, source depth, distribution, or color temperature. Compare those details alongside fit so the upgrade delivers the intended result.
Adding Lights to a Finished Ceiling?
When there is no existing housing at a planned location, both canless fixtures and remodel housings are options to evaluate. Choose a system whose installation instructions accommodate the actual ceiling conditions.
A canless fixture does not require a separate traditional recessed housing. However, the light assembly, driver enclosure, connections, and required clearances must still fit. Canless designs include more than thin wafers, so check the complete dimensions rather than judging depth from the trim.
A remodel housing provides a housing-based installation option for an existing ceiling. Check how the selected housing is inserted, secured, connected, and serviced, along with its ceiling-thickness and clearance requirements.
Access matters as much as fixture size. Before cutting, have the proposed locations checked for framing, ducts, pipes, wiring, and other obstructions. Plan how power will reach each location and whether the work requires access beyond the fixture opening.
For a broader explanation of these platforms, see our Canless vs. Can Lights guide.
When Does a New Housing Make Sense?
An opened ceiling or access from above can make additional mounting arrangements practical. A housing-based system may suit a project where the selected fixture calls for that support and installation method.
Choose the housing and light assembly as a compatible system. Confirm how they relate to the framing, finished ceiling thickness, insulation, and other parts of the ceiling assembly.
Canless fixtures can also be considered during a larger renovation when their mounting and installation requirements suit the project. The construction stage changes your access options; it does not, by itself, decide which lighting platform is best.
Check Fit Before Ordering
Record the actual cutout dimensions and ceiling thickness. The nominal fixture size is a category description, not a substitute for the manufacturer’s required opening.

For an existing hole, compare both mounting fit and visible coverage. A trim that covers the edge does not establish that the fixture can be secured correctly. If resizing or repair is needed, include that work in the plan before ordering.
Above the ceiling, check the complete assembly. That includes the housing or module, driver enclosure, connections, and any required separation from surrounding materials. Leave room for installation and servicing, not just enough space to place the components.
Review the selected system’s ratings for the location and ceiling conditions. Where insulation is present, verify its insulation-contact rating and follow the installation instructions. Check airtight construction separately where required, and assess any wet-location, sloped-ceiling, or fire-rated assembly requirements that apply to the project.
Plan for Service Access
Before the ceiling is finished, establish how the light source, driver, and other replaceable components will be reached.
For a remote-driver system, check where the enclosure can be placed and whether it can be retrieved through the opening. Do not assume every driver fits through every aperture, or that every component can be replaced independently.
Keep the fixture, housing, driver, and trim identification with the project records. This makes future compatibility checks more straightforward, especially when several similar-looking fixtures are installed throughout the home.
What Else Changes With the Upgrade?
A fixture that fits is only the beginning. Compare the lighting and controls before replacing a room’s existing system.
Delivered lumens tell you how much light leaves the fixture, while distribution determines where it goes. A replacement with similar output can still change illumination on counters, walls, and floors. Assess the intended surfaces and the room’s main viewing positions.
Check color temperature and available adjustment options. If you want a consistent appearance across the room, compare the exact settings or fixed-CCT versions being ordered rather than relying on a general “warm white” label.
Verify the exact fixture-and-driver combination against the proposed dimmer or control system. Review supported control methods, compatible devices, and the published dimming range. Keeping the old dimmer is a choice to check, not an automatic part of the upgrade.
Finally, compare the visible details: trim width, finish, shape, and source depth. These can change how noticeable the lights are on the ceiling even when the nominal aperture size stays the same.
Our Recessed Lighting Buying Guide covers these performance and appearance decisions in more detail.
Before You Order
- Identify any existing housing and the components you intend to retain.
- Measure the opening and ceiling thickness.
- Confirm the complete fixture and driver dimensions, mounting requirements, and clearances.
- Have wiring access and proposed locations assessed before cutting.
- Verify compatibility, relevant ratings, and the servicing method.
- Compare output, distribution, color temperature, and controls.
- Include any ceiling repair or finishing work in the project cost.
Conclusion: Let the Existing Ceiling Guide the Choice
A compatible retrofit module may let you retain an existing recessed housing. Adding lights at new locations calls for a canless fixture or housing system suited to the available space, access, and construction.
Start with those physical conditions, then compare the lighting performance and appearance you want. That approach helps connect the product choice to the actual renovation rather than choosing by platform name alone.
Explore recessed lighting, LED retrofit modules, and canless fixtures at Bees Lighting to compare options for your project.


