Installing a programmable timer switch is one of the best upgrades you can make for home security and energy savings. It gives your home a "lived-in" look while you're on vacation and ensures your porch lights never stay on all day.
However, the #1 barrier to installing these switches is the Neutral Wire. In 2026, most smart and digital timers require a white neutral wire to power their digital displays. This guide will teach you how to identify your wiring and install a timer successfully.
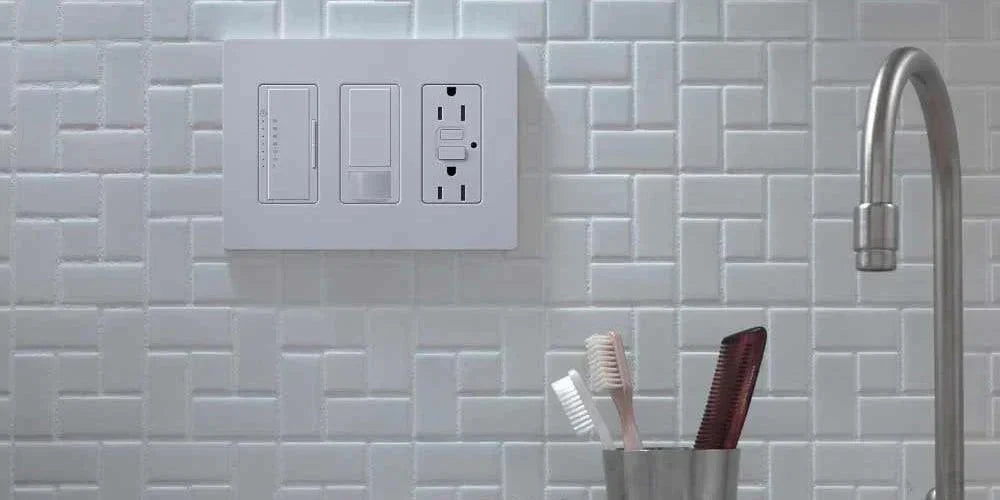
Phase 1: The "Pre-Flight" Wiring Check
Before you buy a timer, you must open your wall box to see what you are working with.
Safety First: Turn off the power at your breaker panel and verify it is off with a non-contact voltage tester.

Unscrew your existing switch and pull it out. Do not disconnect the wires yet. Look for the following:
| Wire Color | Function | Location |
| Black | Line (Hot) | Brings power FROM the breaker box. |
| Black or Red | Load | Carries power TO the light fixture. |
| Green / Bare | Ground | Attached to the green screw or box. |
| White Bundle | Neutral | Tucked in the back of the box, capped with a wire nut. |
Phase 2: Installing a Standard Digital Timer (With Neutral)
Best for: Newer homes (1985+) and most kitchen/bathroom renovations.
- Identify Line vs. Load: Disconnect the old switch. Separate the two black wires. Turn the power on carefully. Use your voltage tester to see which wire beeps (That is your Line/Hot). The one that doesn't beep is your Load. Turn power back off.
- Connect the Ground: Connect the timer's Green wire to the bare copper wire in your box.
- Connect the Neutral: Remove the wire nut from the bundle of White wires in the back of the box. Add the timer's White wire to this bundle and retighten the nut.
-
Connect Line and Load:
- Connect the timer's Black wire to the Line (Hot) wire from the wall.
- Connect the timer's Red (or Blue) wire to the Load wire going to the light.
- Mount and Test: Tuck the wires in, screw the timer in place, and turn the power back on. The screen should light up.

Troubleshooting Your Timer Install
1. The screen is blank.
- Standard Timer: Check your neutral wire connection. It must be tight.
- Battery Timer: Check the battery orientation or pull the plastic battery tab.
2. The lights flicker or won't turn off completely.
This is often a Minimum Load issue. Older digital timers require a certain amount of electricity to pass through the bulb to complete the circuit. If you are using low-wattage LEDs, the timer might struggle.
- Fix: Ensure your timer is rated "C.L" or "LED Compatible," or install a LUT-MLC load adapter.
3. The timer resets when I turn the lights on.
You likely have the Line and Load wires reversed. The timer is trying to power itself through the light bulb, which fails when the circuit opens. Swap the black and red/blue wires.
Automate Your Home with Bees Lighting
Whether you are rewiring a modern kitchen or retrofitting a vintage hallway, having the right timer makes the job easy. Bees Lighting stocks the full range of timers to ensure you have the right solution for your specific wiring.


